
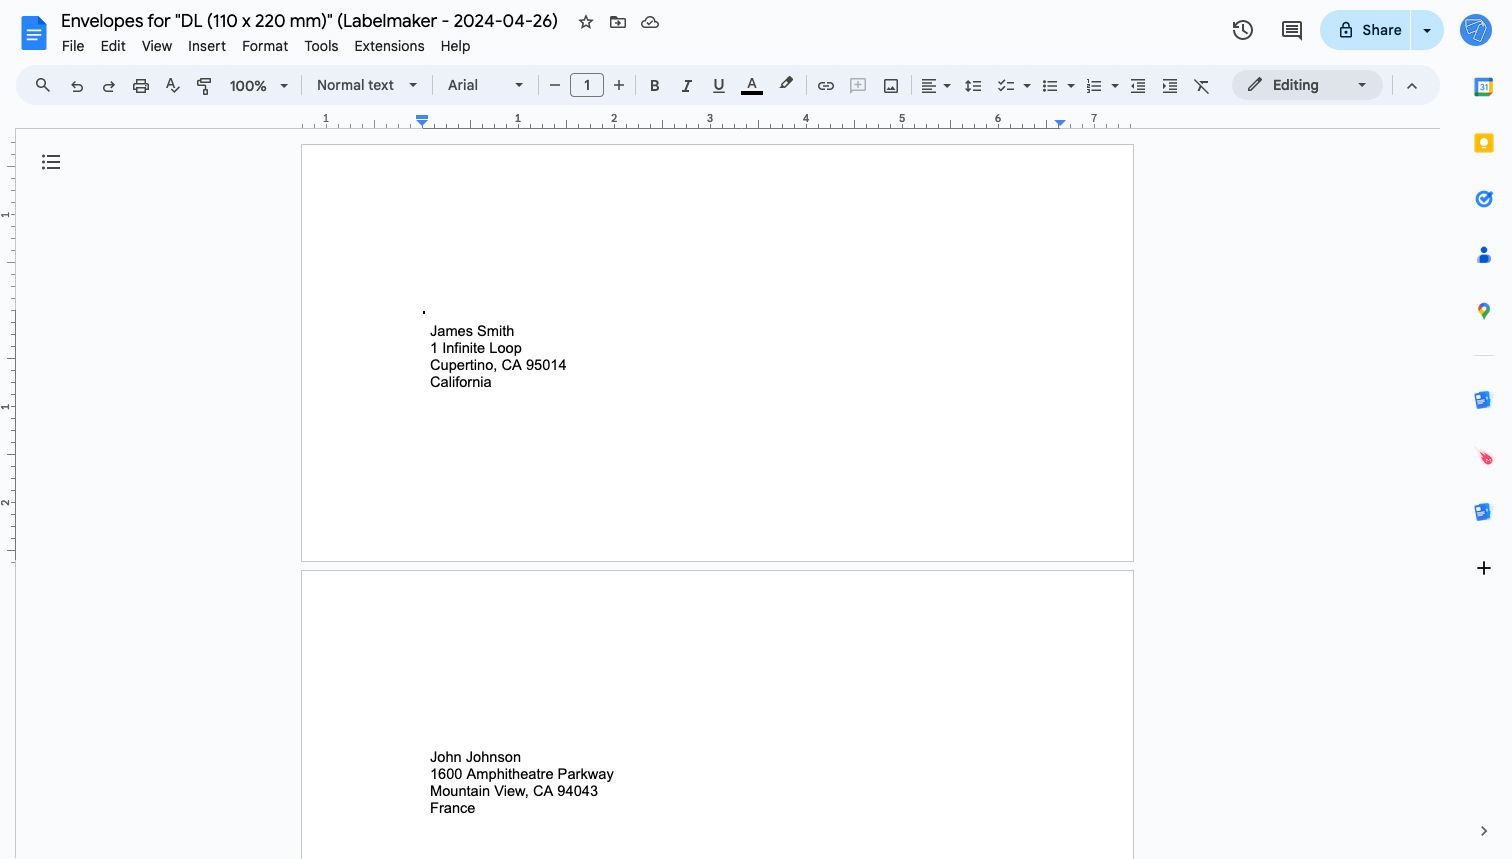
Last spring I printed 60 wedding invitations, and the first eight envelopes came out crooked enough that I threw them away. Word's built-in envelope tool was fine on my old laptop, but I work on a Chromebook now, and there's no desktop equivalent. So I built an envelope template Google Docs file that I reuse for everything: invitations and the monthly invoices I still mail. It takes about ten minutes to set up, and once you save it to your Drive, you never rebuild it again.
Why Docs Beats a Dedicated Envelope Tool for Most People
Google Docs doesn't ship with an envelope wizard. That's usually framed as a shortcoming, but I've come to see it as an advantage. Templates in Docs are just page setups, so you control every dimension, and the file syncs across devices. The tradeoff is real: no automatic ZIP+4 lookup, no barcode fonts, no drag-and-drop address book merge unless you use the mail merge add-on from Avery or a Google Sheets script. If you mail hundreds of pieces a week, buy dedicated envelope software. For the ten to fifty pieces most households send, Docs is plenty.
Setting Up the Custom Page Size
Open a blank document and go to File > Page setup. Switch the page orientation to Landscape, then choose "Custom" for paper size. A standard #10 business envelope measures 9.5 by 4.125 inches, so enter those values directly rather than picking "Legal." One detail that trips people up: Docs' custom size dialog accepts decimals, so 4.125 works but 4 1/8 does not.
Next, set all four margins to 0.5 inches. That leaves a printable band wide enough for a return address, and it keeps you inside the safe zone of most inkjet printers, which typically can't print closer than a quarter inch to the paper edge.
| Envelope type | Width x Height (inches) | Typical use |
|---|---|---|
| #10 Business | 9.5 x 4.125 | Bills, invoices, letters |
| A2 | 5.75 x 4.375 | Thank-you and RSVP cards |
| A7 | 7.25 x 5.25 | Wedding and greeting cards |
| #6 3/4 | 6.5 x 3.625 | Personal correspondence |
Placing Addresses Without Fighting the Cursor
Typing straight onto the page works, but spacing is fragile. I use two single-cell tables instead: one for the return address in the upper-left, one for the recipient block centered vertically and pushed toward the right half. Invisible table borders hold the text exactly where you put it, and you can nudge the whole block with the indent markers instead of hitting Enter twelve times.
USPS wants the delivery address inside its automated read area, roughly the lower two-thirds of the envelope, with at least 0.5 inch of clear space on either side. Keeping the recipient block between 2 and 3.5 inches from the left edge of a #10 envelope satisfies that on the first try.
Printing Without Wasting Envelopes
Always run a test on plain paper first. Feed the sheet in, then hold it against the envelope with the printed side down to see where the ink actually lands. Printers vary widely here, and a model that feeds envelopes face-up will flip your layout relative to one that feeds face-down. My current Canon feeds from the rear tray with the flap side up and the flap edge going in last.
Set the print scale to 100 percent and disable Fit to page, which silently shrinks your layout and throws off margins. Exporting to PDF before printing gives you a stable file you can hand to a print shop later.
💡 Note: Don't reuse a template saved from Word — the .docx conversion in Google Docs can round custom page dimensions such as 4.125 inches to 4.13, and a stray hundredth of an inch is enough to push your return address off-center on every envelope.
One habit that pays off: name the master file “Envelope Template - #10” and use File > Make a copy for every batch instead of editing the original. I keep four copies in a Drive folder, one per envelope size, and I haven’t re-measured anything since 2022.
Related Terms:
- print envelope with google docs
- google docs envelope template free
- free printable envelope templates
- printing envelopes on google docs
- 5x7 envelope template google docs
- can google docs create envelopes


